Over the years, I have accumulated a stash of mini quilt tops that for one reason or another, never got quilted and finished. I turn to this stash when I need a practice project or just the satisfaction of a quickly finished project.
Since January, I've been working on a batch of t-shirt quilts - a project meant to empty out plastic bins full of t-shirts waiting to "some day" be turned into quilts.
Thinking about four large t-shirt quilts in need of binding, I decided it was time to perfect my machine binding technique!
After trying out the technique with some practice machine quilting squares and left-over binding scraps, I decided it was time to try binding a "real" project.
From the stash, I chose a mini quilt top in bright spring colors. After some quick straight-line quilting, I was ready to add the green binding.
The method I use for machine binding is the opposite of traditional binding: the binding is stitched to the back of the quilt, then folded over and machine-stitched to the top of the quilt. Appliqué glue is a great way to hold the binding in place prior to stitching.
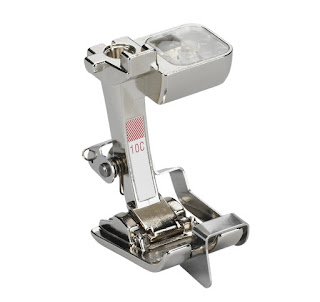
I use my handy-dandy edge stitch foot to guide the line of top stitching close to the edge of the binding. For this mini quilt, I used matching thread and a straight stitch, but this binding technique would also lend itself to decorative threads and stitches.
Here's a close-up of the finished, top-stitched binding.
Now I have a cute ~finished~ mini quilt on which to display some vintage flamingos!


